So you’ve got yourself a brand new fly reel and you’re ready to hit the water, but there’s just one problem – you’re not quite sure how to attach the backing to your reel. Don’t worry, we’ve got you covered. In this article, we’ll walk you through the step-by-step process of attaching a backing to your fly reel, ensuring that you’re well-prepared for any fishing adventure that comes your way. Whether you’re a seasoned angler or a beginner, this guide will have you ready to cast your line in no time. So let’s get started and make sure your reel is properly equipped for your next fly fishing excursion.

Choosing the Right Backing
When it comes to choosing the right backing for your fly reel, there are a few important factors to consider. The first is determining the appropriate backing weight. The weight of the backing should match the weight of the fly line you plan to use. This ensures that the backing will provide enough strength and support during a fight with a fish.
Next, you need to select the right backing material. There are various options available, such as Dacron, gel-spun polyethylene, or braided nylon. Each material has its own pros and cons, so it’s important to do some research and consider your specific fishing needs before making a decision.
Lastly, you should consider the length of backing you’ll need. This will depend on factors such as the size of the fish you typically target and the type of fishing you do. It’s generally recommended to have at least 100 to 200 yards of backing, but if you’re going after larger species or plan to fish in deep waters, you may need even more.
Preparing the Backing
Before attaching the backing to your fly reel, it’s important to properly prepare it. Start by unspooling the backing from its packaging or spool. This will help prevent any kinks or twists that could affect its performance.
Once the backing is unspooled, take the time to inspect it for any damage or knots. Any weaknesses or imperfections should be addressed before attaching it to your reel. If you notice any issues, it’s best to replace the backing with a fresh spool to ensure optimal performance.
If the backing appears dirty or is covered in debris, it may be necessary to clean it. This can be done by soaking the backing in warm soapy water and gently agitating it to remove any dirt or grime. Once clean, be sure to thoroughly rinse and dry the backing before proceeding with the attachment process.
Attaching the Backing to the Reel
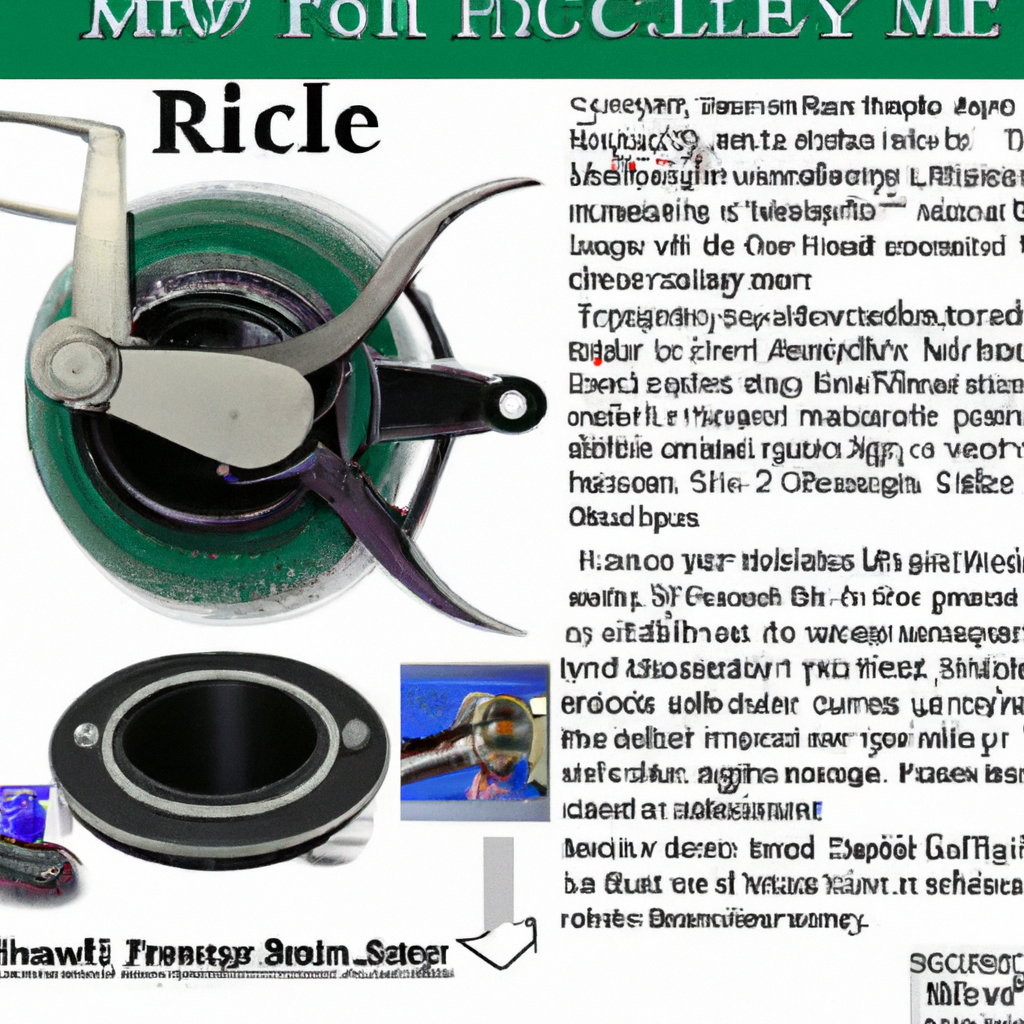
To attach the backing to your fly reel, you’ll need to secure it to the arbor, which is the spool-like component in the center of the reel. This can be done using an arbor knot, which is a simple and effective way to create a strong connection.
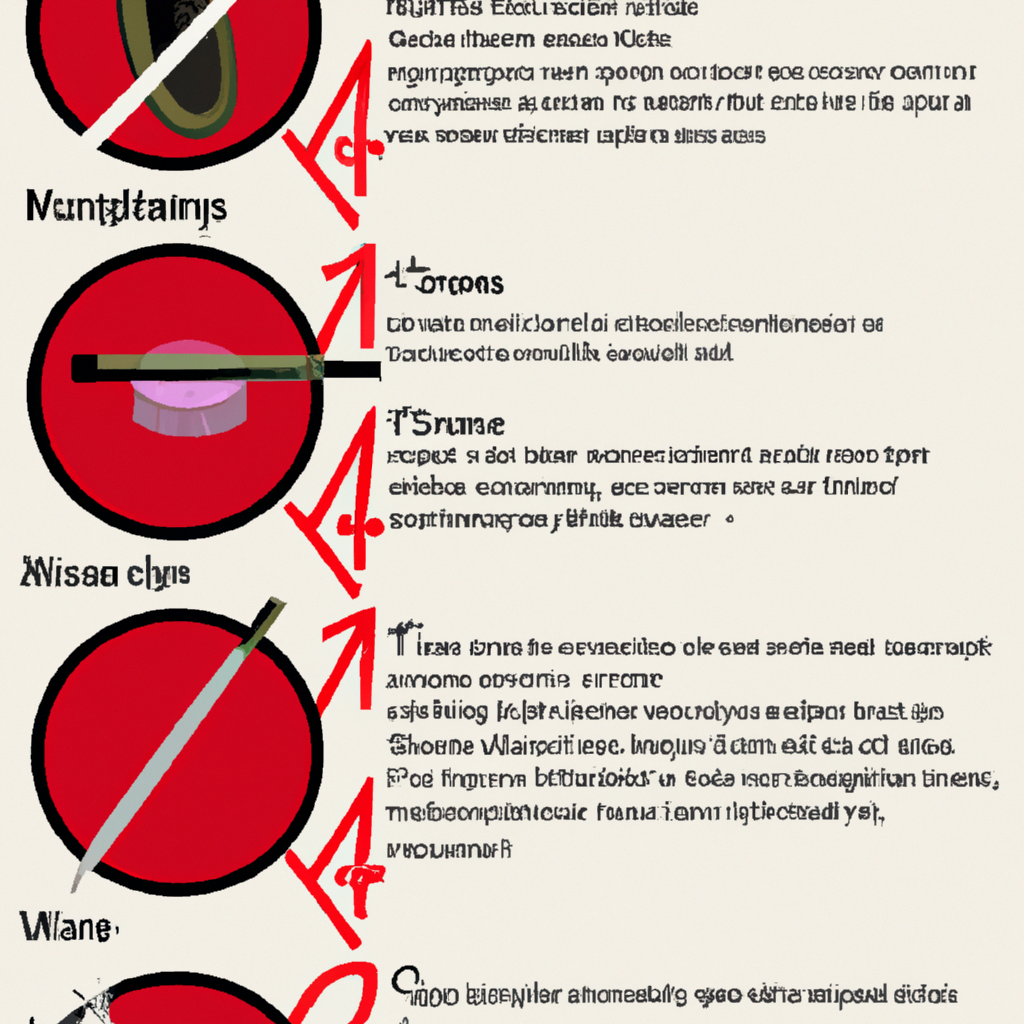
To tie an arbor knot, start by forming a loop with the backing and passing it through the arbor of the reel. Then, make a simple overhand knot with the free end of the backing, making sure to leave a small loop at the end. Pass the free end of the backing through this loop, creating a second loop around the arbor. Finally, tighten the knot by pulling both ends of the backing, ensuring a secure connection.
After securing the backing, trim any excess length that extends beyond the edge of the spool. It’s important to leave a small amount to prevent the knot from coming undone, but trimming too much can interfere with the proper function of the reel.
Winding the Backing
Once the backing is securely attached to the reel, it’s time to wind it onto the spool. Proper winding is important to ensure the backing is evenly distributed and doesn’t become twisted or tangled.
When winding the backing, it’s crucial to use the right tension. Too much tension can put strain on the backing and potentially cause it to break, while too little tension can result in loose or uneven winding. Aim for a moderate tension that allows the backing to be evenly distributed across the spool without any slack or excessive tightness.
As you wind the backing, pay attention to its alignment. Make sure it remains properly aligned with the arbor and doesn’t veer off to one side or become unevenly distributed. Keeping the backing aligned will prevent any potential tangles or knots when you’re out on the water.
It’s also important to avoid overfilling the reel with backing. While having some extra is always a good idea, filling the reel to the point of overflow can cause issues such as tangling or difficulty casting. Aim for a balance where there is enough backing to support your fishing needs, but not so much that it hinders the reel’s performance.

Connecting the Backing to the Fly Line
Once the backing is properly wound onto the reel, it’s time to connect it to the fly line. There are a few different methods you can use to achieve this connection, depending on your personal preference and the type of fishing you’ll be doing.
One common method is using a nail or loop knot to join the backing and fly line. This involves tying a small loop at the end of the backing and then passing the fly line through this loop. The loop is then secured by pulling the backing tight, creating a strong and secure connection.
Another option is to utilize a backing connector or a loop-to-loop connection. A backing connector is a small metal or plastic piece that can be attached to the end of the backing, allowing for an easy loop-to-loop connection with the fly line. This method is quick and convenient, especially if you frequently change fly lines or switch between different setups.
Regardless of the method you choose, it’s crucial to ensure a secure connection between the backing and fly line. A weak or faulty connection can result in lost fish or damaged equipment. Take the time to double-check the connection and test its strength before hitting the water.
Testing the Reel and Backing
Before heading out to fish, it’s important to test the reel and backing to ensure everything is functioning properly. Start by verifying the reel’s drag system, which controls the amount of resistance the reel applies when a fish pulls on the line. Make sure the drag is adjusted to the appropriate level for the type of fish you’ll be targeting.
Next, check the backing’s strength by gently pulling on it. The backing should be able to withstand a significant amount of pressure without breaking or stretching excessively. If you notice any weak spots or signs of damage, it may be necessary to replace the backing before going out on the water.
Finally, test the connection between the backing and fly line. Gently pull on the fly line to ensure it remains securely attached to the backing. If there are any signs of slippage or loose connections, address the issue before hitting the water to avoid any potential problems during a fight with a fish.
Maintenance and Safety
Proper maintenance and safety practices are essential for ensuring the longevity and performance of your backing. Regularly inspect the backing for any signs of wear or damage, such as fraying or weakened areas. If any issues are found, it’s best to replace the backing as soon as possible to prevent any potential failures while fishing.
Retaining the backing’s integrity also involves avoiding exposure to harsh conditions or chemicals that could degrade its strength. Store your reel and backing in a cool, dry place when not in use, and avoid exposing them to extreme temperatures, direct sunlight, or any corrosive substances.
When handling the backing, always exercise caution to prevent any injuries. The thin and strong nature of the backing can cause accidental cuts or abrasions if not handled properly. Consider wearing protective gloves when handling the backing, especially during the attachment and winding processes.
Troubleshooting
In some cases, issues may arise with the reel or backing despite taking all the necessary steps during the attachment process. Some common problems include reel slippage, loose or inadequate knots, and tangled or twisted backing.
If you experience reel slippage, where the reel doesn’t hold tension properly when the line is pulled, it may be due to a loose or improperly tied knot. Double-check the arbor knot connecting the backing to the reel and ensure it is secure. If the problem persists, it may be necessary to seek further assistance or consider professional reel servicing.
Loose or inadequate knots can lead to a weak connection between the backing and fly line. If you notice any issues with the knot, such as it not sitting tightly or coming undone easily, take the time to re-tie it properly. It’s better to spend a few extra minutes ensuring a secure connection than risk losing fish or damaging equipment due to a faulty knot.
Tangled or twisted backing can be frustrating and may affect the casting and retrieval of your fly line. If you notice any tangles or twists, carefully unwind the backing from the reel and straighten it out. Take your time and make sure the backing is properly aligned before rewinding it onto the reel to prevent any further tangling.
Seeking Professional Guidance
If you’re new to attaching backing to your fly reel or are experiencing persistent issues, it can be helpful to seek guidance from an experienced angler or fishing expert. They can provide valuable tips, tricks, and troubleshooting advice based on their own experiences and expertise.
In some cases, it may be beneficial to consider professional reel servicing or backing attachment. Reputable fishing shops or fly fishing outfitters often offer services where they can properly attach the backing to your reel, ensuring a secure and reliable connection. While this may involve a small fee, it can give you peace of mind knowing that your backing is properly attached and ready for use.
Conclusion
Attaching backing to your fly reel is an essential step in preparing for a successful day of fishing. By choosing the right backing weight and material, properly preparing and attaching the backing to the reel, winding it evenly and connecting it securely to the fly line, and performing regular maintenance and safety checks, you can ensure that your backing is ready to support you during those memorable fishing adventures. Remember to troubleshoot any issues that may arise and seek professional guidance when needed. With proper attention to detail and a little bit of practice, you’ll be well-equipped to enjoy the excitement of fly fishing with confidence.